Pages

Showing posts with label ideas. Show all posts

Sunday, 2 August 2015

Wreck This Journal: Draw Fat Lines and Thin


Not much to say about this page... It's just a crazy staircase done with a 'B' pencil. I sketched the lines and filled them pushing really hard.

The 3D effect is very easy to achieve if you have a shape in mind.
I really like surrealist drawings and I'm planing on making something like this but even bigger and crazier for my living room.

Stay tuned!

Tuesday, 14 July 2015

Wreck This Journal: Trace Your Hand


I drew this page while having a conversation via skype, I live far away from my family and most of my friends, so I can easily spend a few hours chatting. 

The polaroids you see, are actually doodles of real pictures that we were talking about that day.
The last holiday with my friends, my first flat in London, etc.

I used a pencil to sketch everything, a blue and a brown regular color pencils for shading, purple and silver metallic pens for the nails and a black pen to trace the final lines.

I've always had difficulties to draw hands, even to the point that I would leave every single drawing with unfinished arms. But I realized that it was more of a mental block rather that lack of ability. And this happens to a lot of people, we need to forget about the object and just focus on drawing lines, sometimes it helps to draw the negative space between objects.

Sunday, 12 July 2015

Wreck This Journal: Cover this Page Using Only Office Supplies


This is supposed to be a giant raising to the surface and blowing some trees, hehehe.

I cut the giant out of thin cork board, the eyes are made of yellow thumb pins, I glued staples for the hair and elastic bands for the clothes. And I used white clips to simulate the wind.

The trees are made of silver clips and pieces of pencils. I used an eraser for the sky. And a mixture of clear tape, pencils shavings and plastic from a double sided tape to form the terrain.

To glue it all together I used PVA and all purpose adhesive (UHU).

Friday, 23 November 2012

Projects I'm currently doing

Hello! In this post I'm going to show you the projects I'm currently doing:

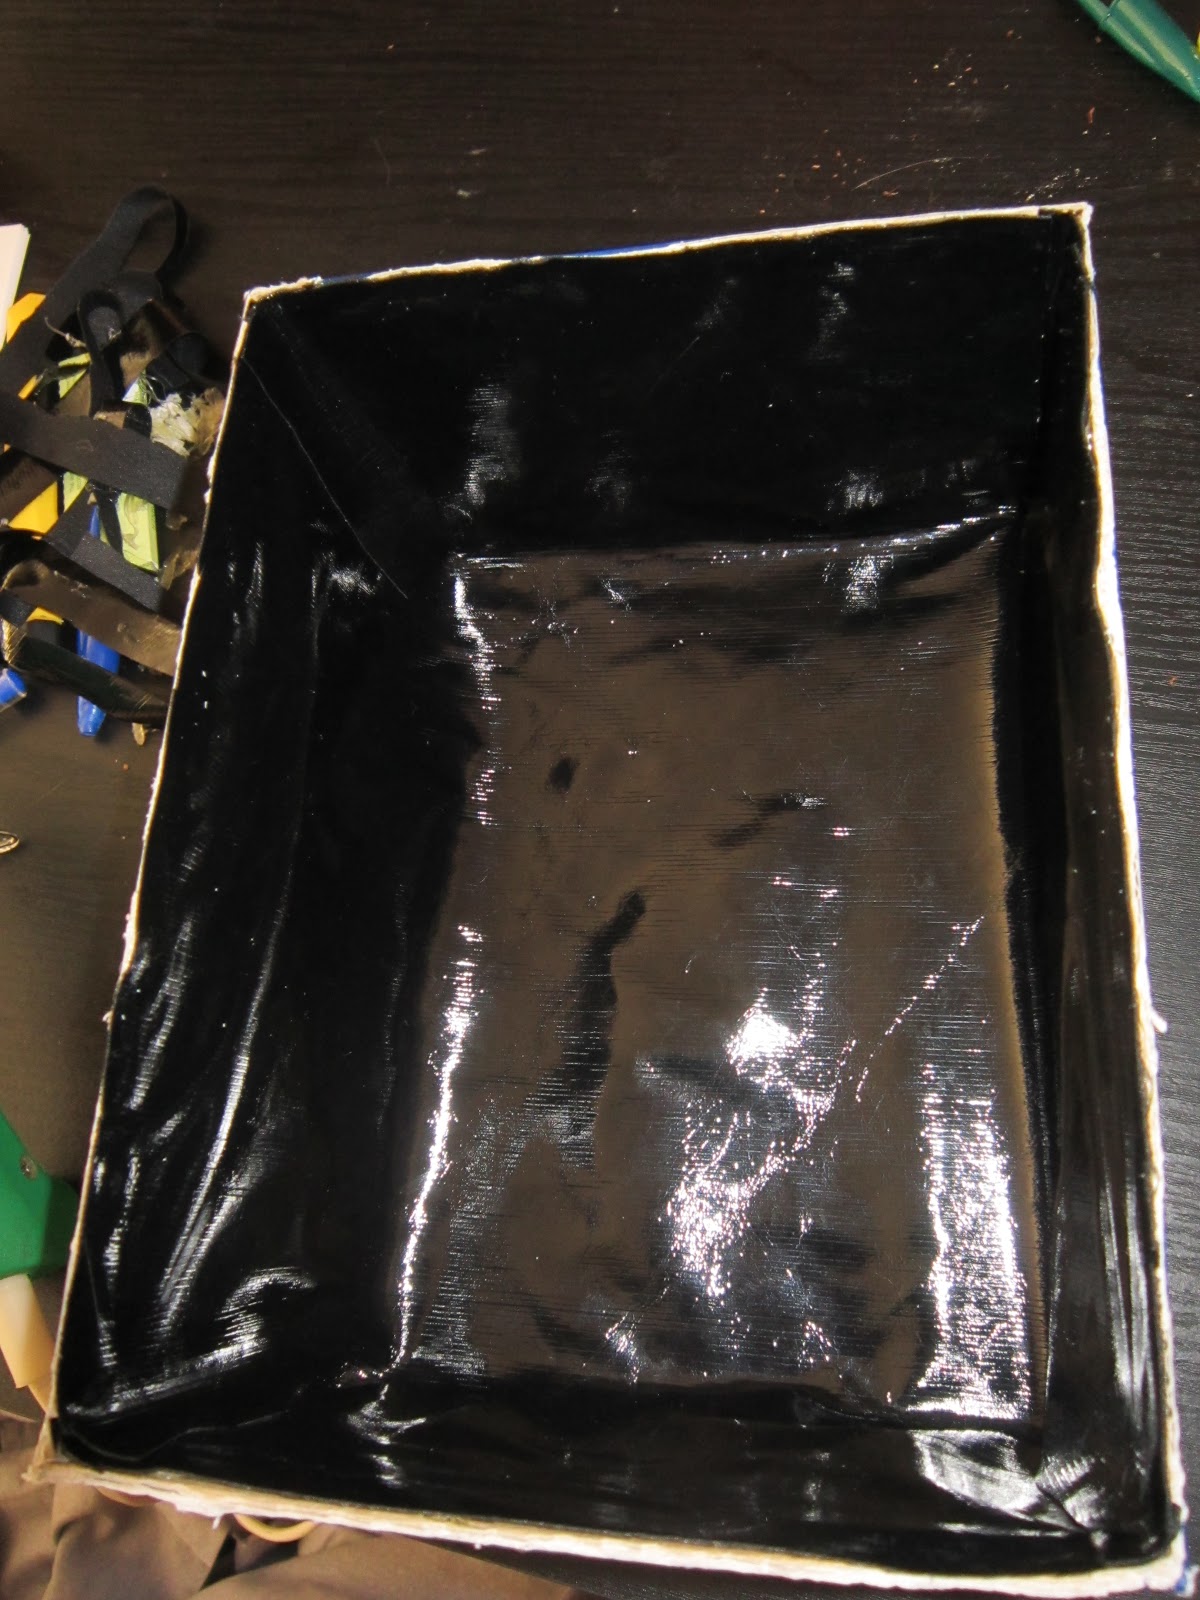
1. This is a cat food box that I cut in half , glue some pages of a dictionary and I paint it with watercolours to give it an old look.


2. This is a family portrait, I'm using acrylic paint and a piece of wood.

3. I'm decorating a shelf to be "more like me" and not so boring... I'm using acrylic paint as always.

               more updates soon!!

Monday, 10 September 2012

A different way to hang your puzzle


Hello again!

Now I'm gonna share with you a different way to hang your puzzles...
I don't like spending more money on a frame than on the thing I wanna hang. And I couldn't find a cheap frame in this size, so this is what I did:

Materials:

  • Puzzle
  • Foam board
  • Lace / ribbon
  • Hot glue
  • Glue gun
  • Liquid glue
  • Puzzle conserver
Steps:

1.Cut the foam to the size of your puzzle.

2. Glue your puzzle to the foam using liquid glue, then use the puzzle conserve to seal the puzzle and let it dry for an hour.

3. Take the lace or ribbon and glue it to the puzzle with hot glue. If you like you can fold the ribbon a little bit while you are gluing it so it is not straight.


4. Make 4 little bows with ribbon and glue them to the corners. And that's it!!


I know that in this case I didn't use a glass or something like that to cover the puzzle, but the Puzzle conserver makes a pretty good job, so I think it's gonna last.

As always feel free to share your own version!

P.S.: If you wanna hang it in the wall you can glue a hanger on the foam making a little hole.

How to recycle cat food boxes


Hello!
I didn't like the idea of throwing away all the cat food boxes, because it's like 16 boxes at month. So I came up with a few ideas and today I'm gonna share with you the first one.

I wanted to tide up my bathroom and I decorated two boxes and this is how I did it:

Materials:

  • boxes
  • fabric
  • ribbon/ fabric scraps
  • hot glue
  • glue gun
  • cutter
  • pencil/ marker
1. I always open these boxes on the side so I can recycled them, so the first step is glue the flaps back on.


2. Lie the box towards the widest side an cut out the part on top using a cutter.


3. Take the fabric an make 2 patterns to cover the inside and the outside of the box. Remember to leave enough fabric (0,5 cm) for the outside pattern so you can fold it and glue it to cover the edges.


4. Cut out the fabric and take the fabric for the inside first.
Place it in carefully, make sure that the measurement is correct and glue it.


5. Now place the box upside down and take the outside fabric.
Glue delicately the bottom and then glue the sides, but remember to fold in the fabric when you glue the 
sides. And fold the fabric to cover the edges too.


6. Add a ribbon, make a knot and... that's it!


I hope I explained well...
Enjoy and share your own!

P.S.: When I finished this project I thought it was very plain so I'm gonna order some studs and add them to the boxes. I'll post the update soon!
Related Posts Plugin for WordPress, Blogger...