Pages

Showing posts with label box. Show all posts

Monday, 10 September 2012

How to recycle cat food boxes


Hello!
I didn't like the idea of throwing away all the cat food boxes, because it's like 16 boxes at month. So I came up with a few ideas and today I'm gonna share with you the first one.

I wanted to tide up my bathroom and I decorated two boxes and this is how I did it:

Materials:

  • boxes
  • fabric
  • ribbon/ fabric scraps
  • hot glue
  • glue gun
  • cutter
  • pencil/ marker
1. I always open these boxes on the side so I can recycled them, so the first step is glue the flaps back on.


2. Lie the box towards the widest side an cut out the part on top using a cutter.


3. Take the fabric an make 2 patterns to cover the inside and the outside of the box. Remember to leave enough fabric (0,5 cm) for the outside pattern so you can fold it and glue it to cover the edges.


4. Cut out the fabric and take the fabric for the inside first.
Place it in carefully, make sure that the measurement is correct and glue it.
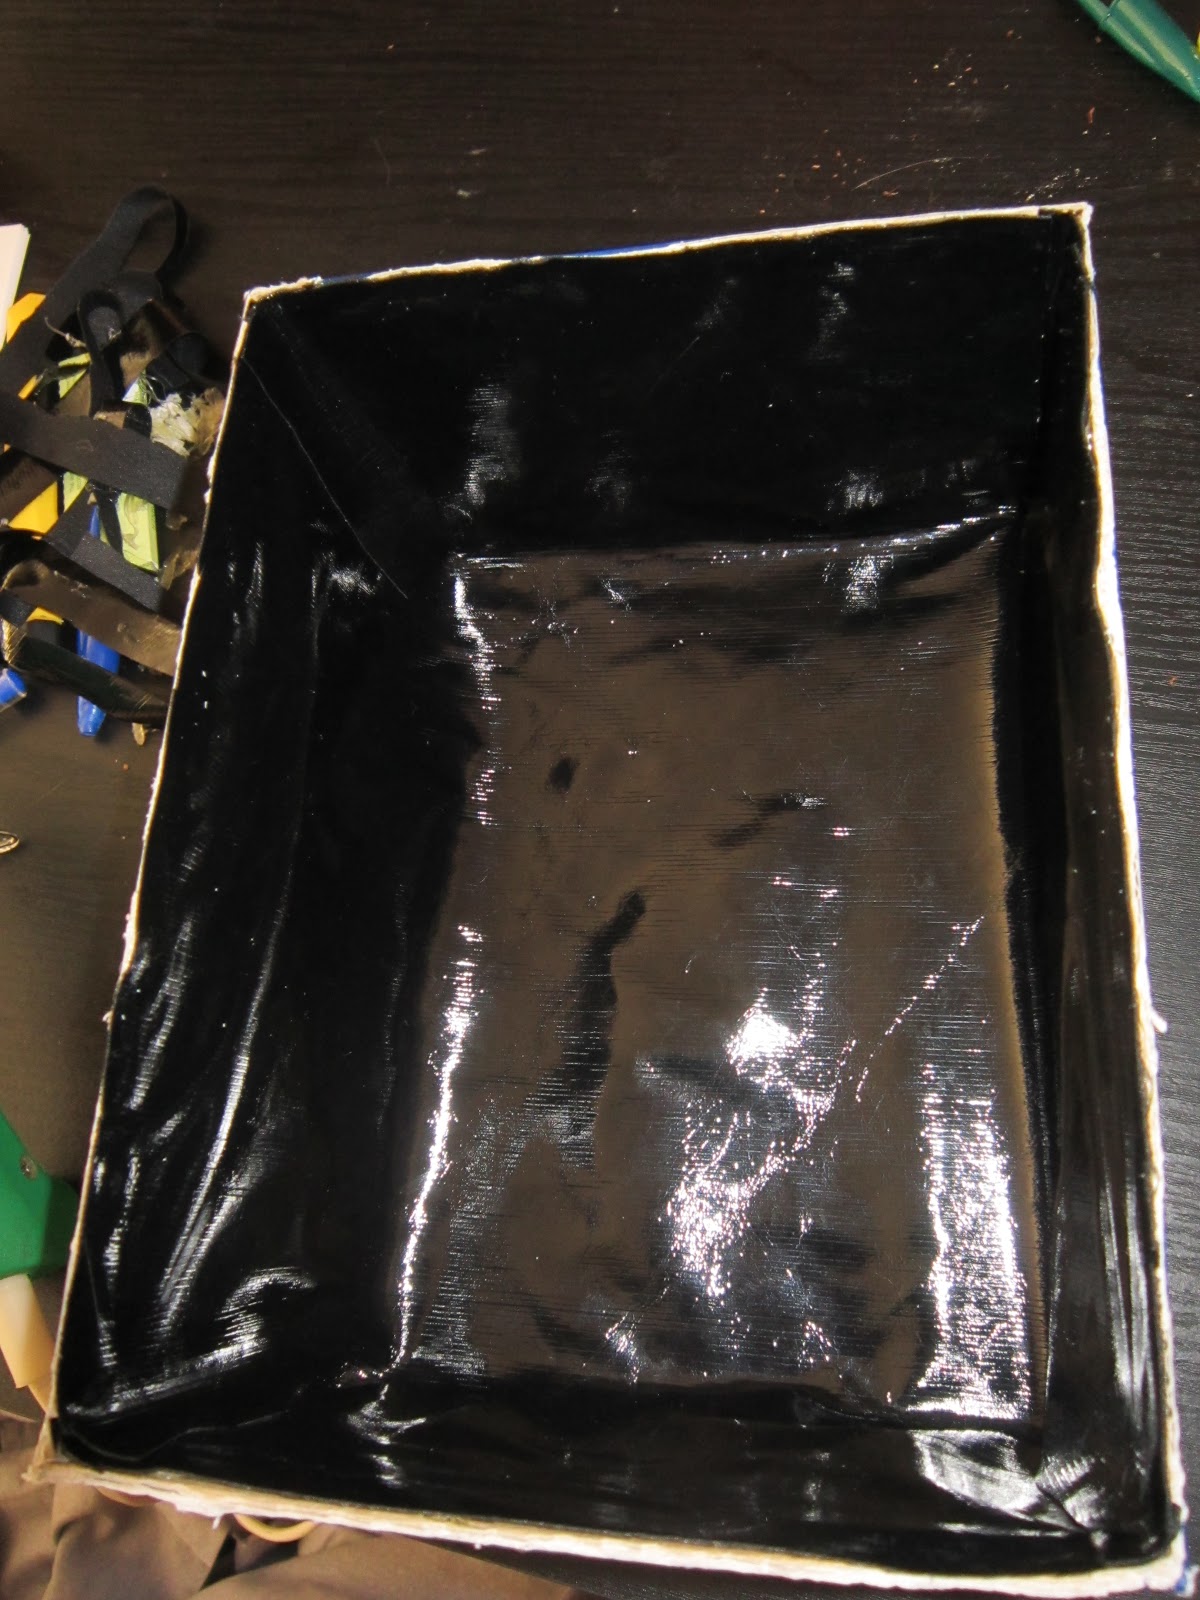

5. Now place the box upside down and take the outside fabric.
Glue delicately the bottom and then glue the sides, but remember to fold in the fabric when you glue the 
sides. And fold the fabric to cover the edges too.


6. Add a ribbon, make a knot and... that's it!


I hope I explained well...
Enjoy and share your own!

P.S.: When I finished this project I thought it was very plain so I'm gonna order some studs and add them to the boxes. I'll post the update soon!

Thursday, 30 August 2012

How to make a book


Hello!
Today I'm gonna show you... How to make a Book with recycled tea box and paper.
I have many scraps from other crafts that I didn't want to throw, so I used it for this project.

Materials:
- Box
- Paper
- Sealer
- Thread
- Needle

Steps:

1. Flatten the box and cut out the flaps.


2. Cut the papers (same size as the cover) , fold in half and divide in groups.

3. Take a paper (same size as the middle part of the cover) , draw some guide lines to place the papers and the holes for binding.


4. Put the guide over the cover and make some holes.


5. And do the same with the papers.


6. Binding.


7. Decorate the cover. I used a paper bag , black paper, sealer and ribbon.


This project is perfect for birthday presents, christmas... I like it a lot because you can do it in different designs or sizes for any occasion, and always recycle!

I hope you like it and if you have any doubt leave a comment below, and of couse share your own version!
Related Posts Plugin for WordPress, Blogger...