Pages

Showing posts with label recycle. Show all posts

Sunday, 19 July 2015

Wreck This Journal: Create a Drawing Using a Piece of Your Hair


This is one of my favourite pages,  I used my cat Satan as a nude model. I sketched him quickly, I covered the drawing with PVA and gradually I added small pieces of my hair. 

But don't worry, I have an undercut so I do this on weekly basis. The good thing is that now I've found a fun thing to do with my discarded hair.

To colour this in I used acrylic paints because it dries rapidly and it covers everything.
For the cat I used:
  • Burnt Umber
  • Burnt Sienna
  • Cadmium Yellow Deep
  • Titanium White 
  • Phthalo Green
  • Black pen
Background
  • Phthalo Green
  • Titanium White
  • Pencil for shading

I like to combine unusual colours to experiment and make something that it's not expected.


Sunday, 12 July 2015

Wreck This Journal: Cover this Page Using Only Office Supplies


This is supposed to be a giant raising to the surface and blowing some trees, hehehe.

I cut the giant out of thin cork board, the eyes are made of yellow thumb pins, I glued staples for the hair and elastic bands for the clothes. And I used white clips to simulate the wind.

The trees are made of silver clips and pieces of pencils. I used an eraser for the sky. And a mixture of clear tape, pencils shavings and plastic from a double sided tape to form the terrain.

To glue it all together I used PVA and all purpose adhesive (UHU).

Thursday, 27 December 2012

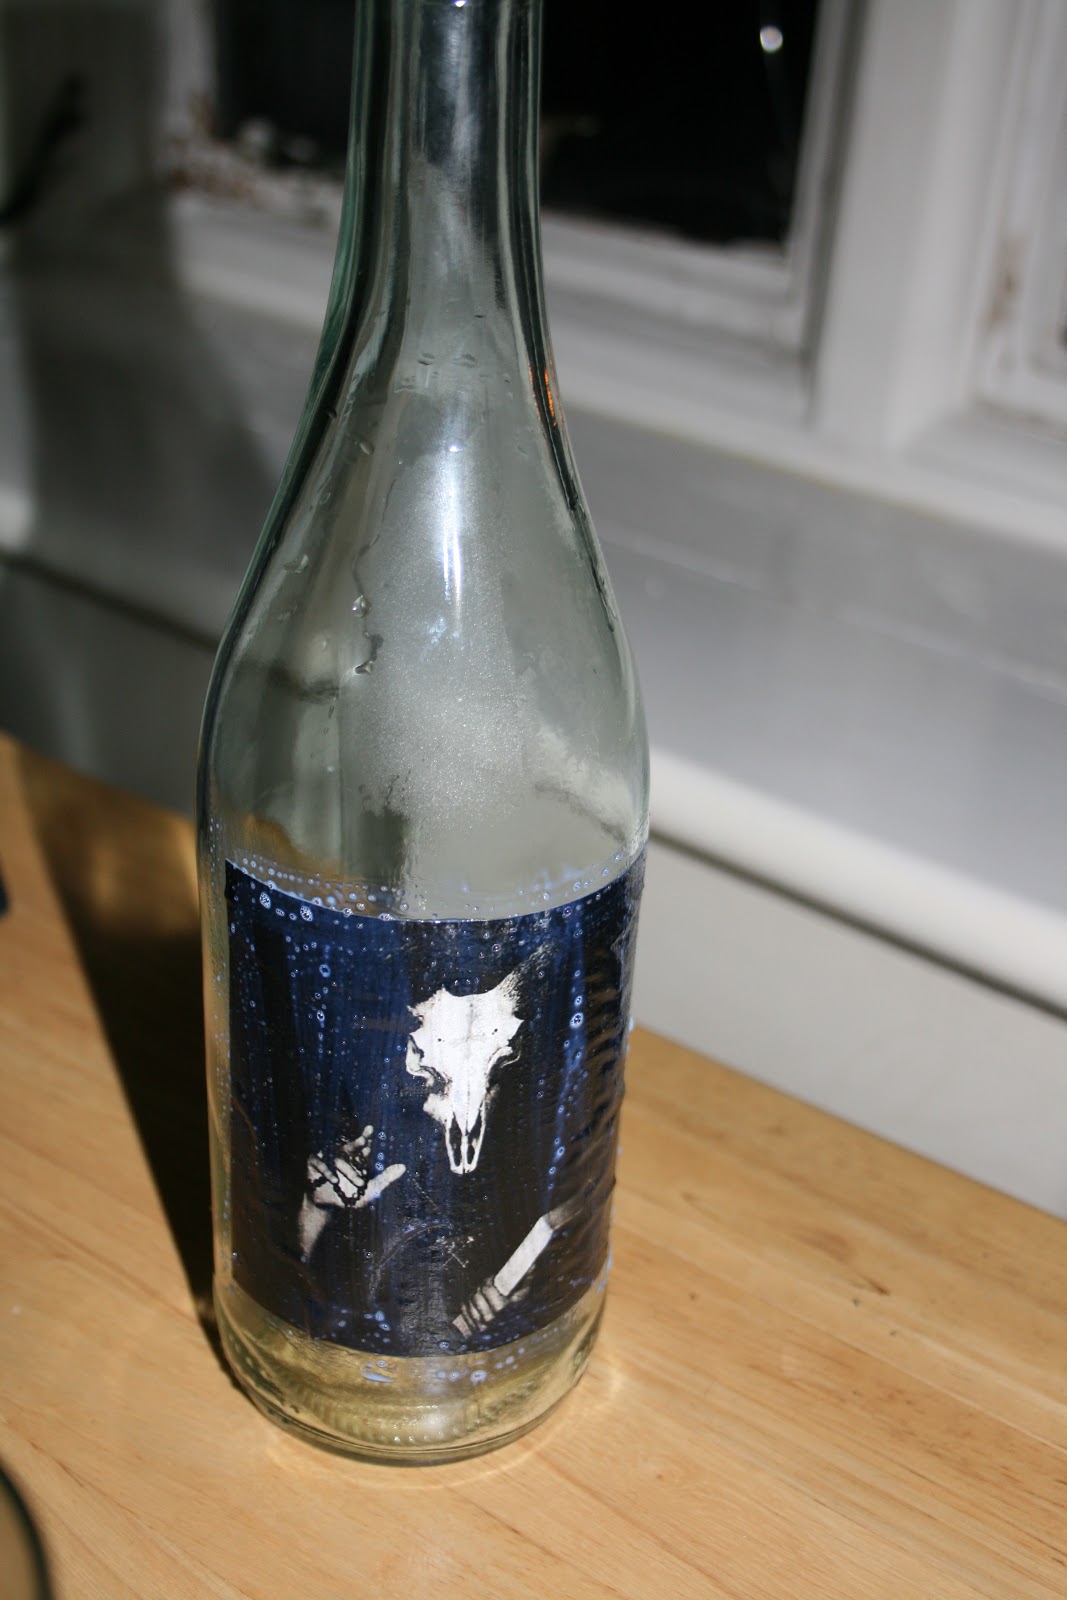
How to make a Candle holder


Hello! I wanted to share with you how to recycle a bottle and make a candle holder.

What will you need?
  • Bottle
  • Picture or paper and a printer
  • Sealer
  • Sand or salt and paint
  • Candle
  • Ribbon
  • Thread
  • Key or whatever you want to put inside
1 Step: Drink the bottle you want to use ;)

2. Clean the bottle the best you can and get rid of all the sticky paper.

3. If you have sand, skip this step.
    Put some salt and paint in a bowl and mix it until you have the colour you like.


4. Print a picture!


5. Use the sealer to glue it to the bottle.


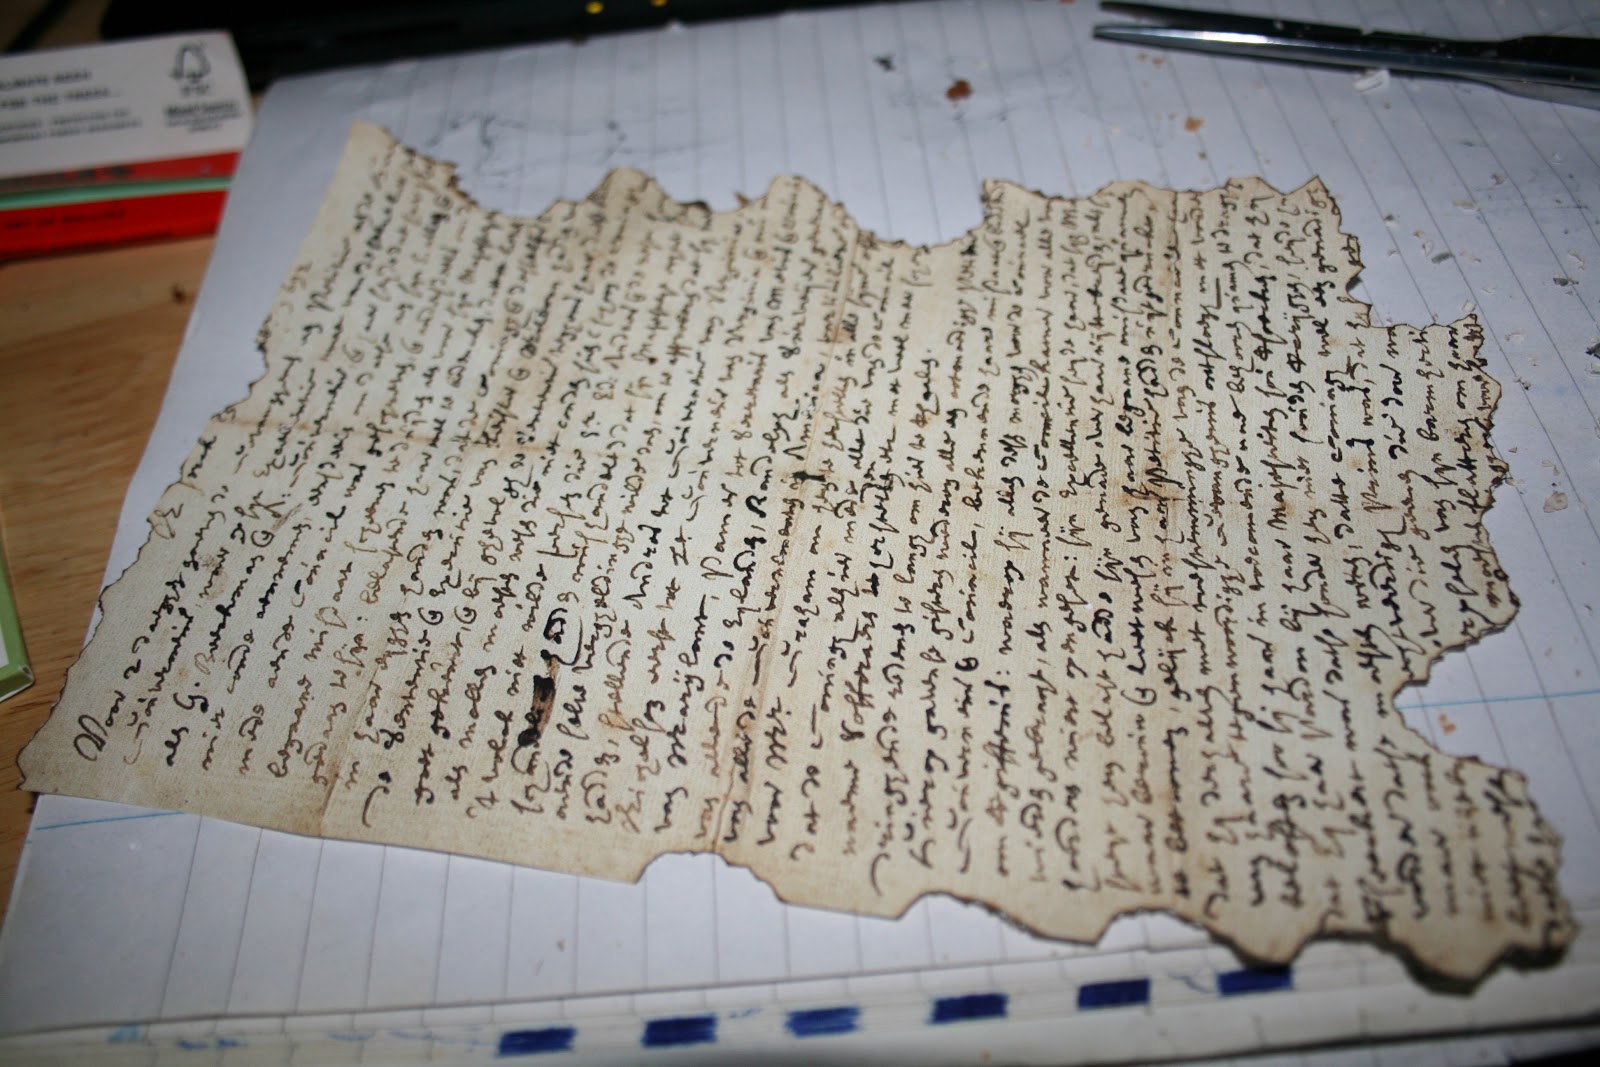
6. Print an old looking letter and burn the edges. But don't burn the house!


7. Put all the stuff you want inside! I rolled the letter and closed it with ribbon, I also put some fishnet and hanged a key inside. And I let a few candles to melt.


8. I added a ribbon to the top of the bottle too.


I hope you like it! Share your own version! More post soon!

Friday, 23 November 2012

Projects I'm currently doing

Hello! In this post I'm going to show you the projects I'm currently doing:

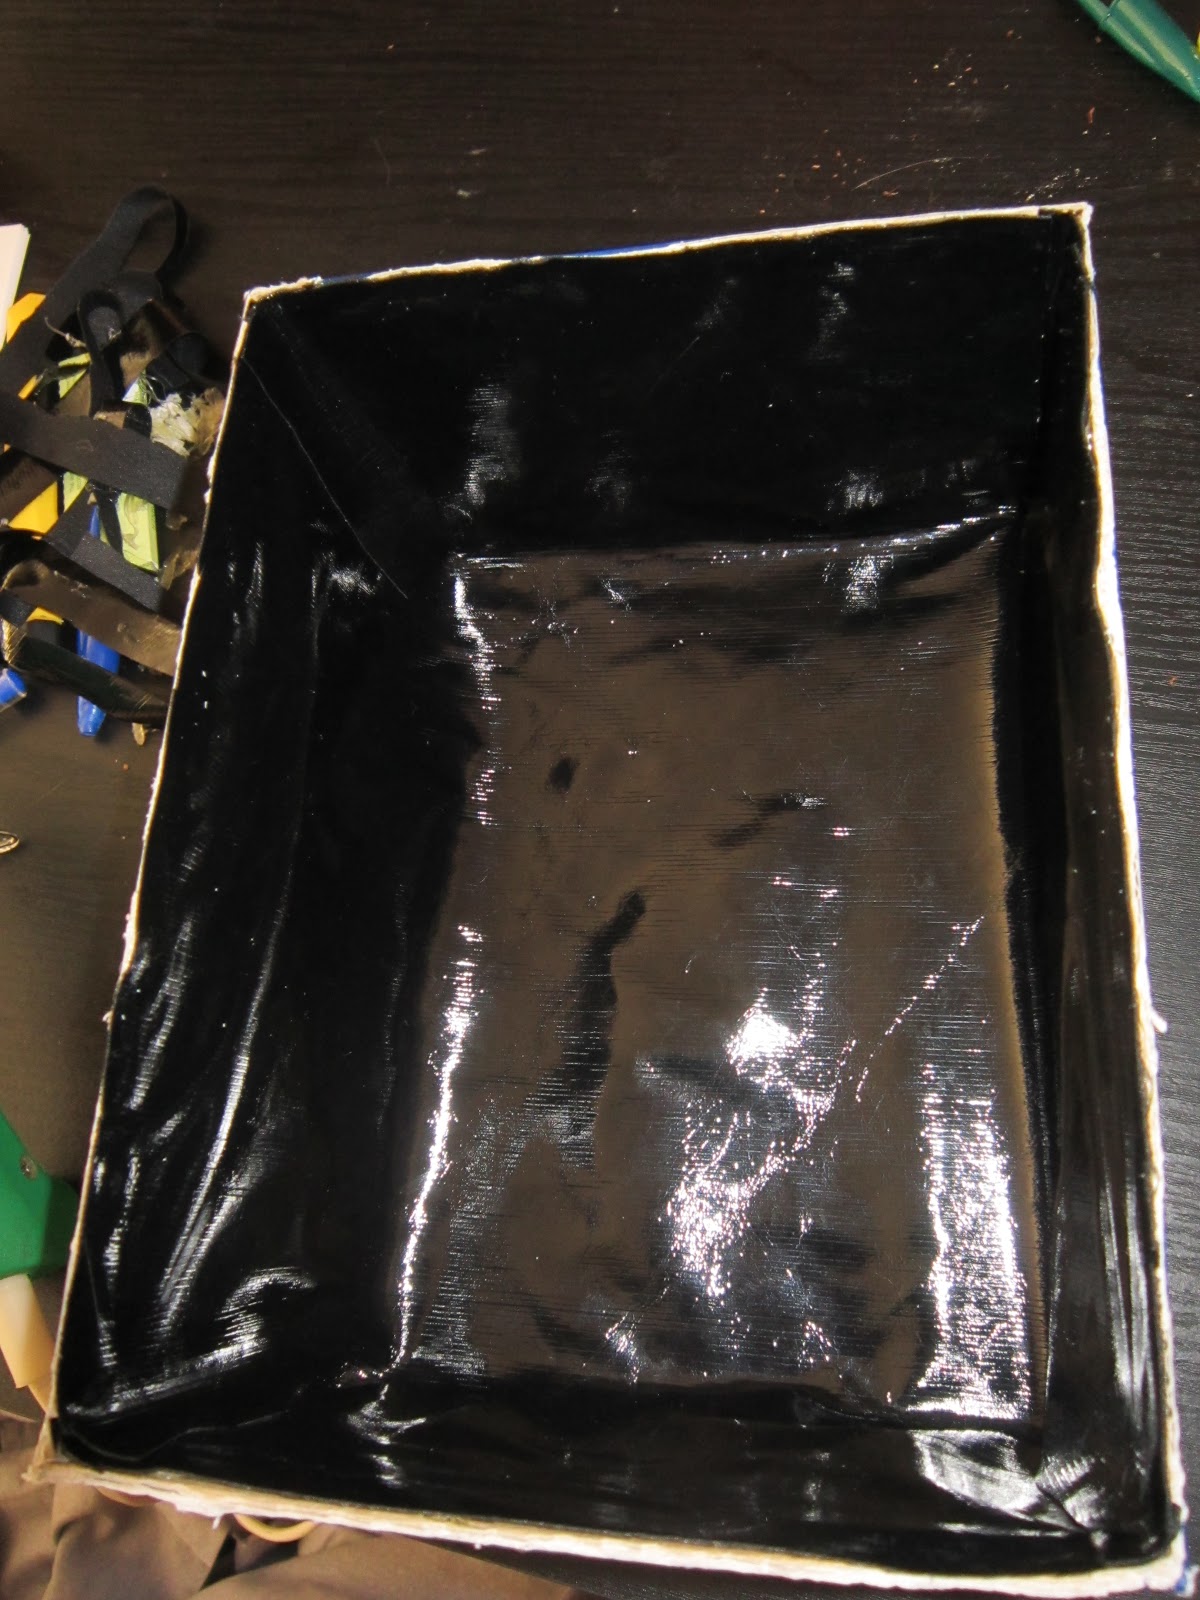
1. This is a cat food box that I cut in half , glue some pages of a dictionary and I paint it with watercolours to give it an old look.


2. This is a family portrait, I'm using acrylic paint and a piece of wood.

3. I'm decorating a shelf to be "more like me" and not so boring... I'm using acrylic paint as always.

               more updates soon!!

Tuesday, 9 October 2012

How to revamp your old T shirt


Hello everyone! Today I'm gonna share with you how to revamp your old T shirt that is forgotten in the bottom of your wardrobe.

What do need?

  • An old T shirt
  • An old over-the-knee socks
  • scissors
  • threat and needle
  • Tape or a marking pen
  • Ribbon
Step 1:  Mark your T shirt with a pen or tape at the height you like.


Step 2: Cut out below the mark.


Step 3: Do the same with the back, but this time cut over the mark.


Step 4: Take your old sock and cut it out the top and the bottom. Cut it in half so you can have two long parts.


Step 5: Fold them and sew them to the top of the T shirt. Pass a ribbon across the sock pieces and tide a knot. I sew it by hand, but if you have a sewing machine it's much easier. And that's it!


 I hope you like it! And as always share your own version with me!!


Monday, 24 September 2012

How to recycle cat food boxes II


Hello! In the last weeks I didn't have enough time that's why I haven't post anything, but I'm back!
This is another project you could do to recycle dry cat food boxes:

Materials:
  • Cat food boxes
  • Acrylic paint
  • Brushes
  • Glue gun
  • Hot glue sticks
  • Cutter
  • Sealer
  • Old net tights

Step 1: Take the boxes and cut the top.


Step 2: Put the boxes on top of each other and glue the edges only with hot glue. Be careful! You have to hold them well together, you could use a ribbon around so it is tight and doesn't move while gluing it.


Step 3: Paint the boxes with acrylic paint, the color of your choice. Mine as always BLACK!  ^.^
Let it dry, apply the sealer and let it dry a few minutes more.


 Step 4: Take those old net tights out of your closet, (I'm sure you all have, hehehe) break them if they are not broken enough. Put some hot glue on the corners of the box or wherever you like and add the net. You only need a little amount of glue for this.


And that's it!! I use mine to store craft papers, you could use it for magazines, letters, recipes...
It's cheap, good for the environment and entertaining!


Monday, 10 September 2012

How to recycle cat food boxes


Hello!
I didn't like the idea of throwing away all the cat food boxes, because it's like 16 boxes at month. So I came up with a few ideas and today I'm gonna share with you the first one.

I wanted to tide up my bathroom and I decorated two boxes and this is how I did it:

Materials:

  • boxes
  • fabric
  • ribbon/ fabric scraps
  • hot glue
  • glue gun
  • cutter
  • pencil/ marker
1. I always open these boxes on the side so I can recycled them, so the first step is glue the flaps back on.


2. Lie the box towards the widest side an cut out the part on top using a cutter.


3. Take the fabric an make 2 patterns to cover the inside and the outside of the box. Remember to leave enough fabric (0,5 cm) for the outside pattern so you can fold it and glue it to cover the edges.


4. Cut out the fabric and take the fabric for the inside first.
Place it in carefully, make sure that the measurement is correct and glue it.


5. Now place the box upside down and take the outside fabric.
Glue delicately the bottom and then glue the sides, but remember to fold in the fabric when you glue the 
sides. And fold the fabric to cover the edges too.


6. Add a ribbon, make a knot and... that's it!


I hope I explained well...
Enjoy and share your own!

P.S.: When I finished this project I thought it was very plain so I'm gonna order some studs and add them to the boxes. I'll post the update soon!
Related Posts Plugin for WordPress, Blogger...