Pages

Showing posts with label hot glue. Show all posts

Monday, 24 September 2012

How to recycle cat food boxes II


Hello! In the last weeks I didn't have enough time that's why I haven't post anything, but I'm back!
This is another project you could do to recycle dry cat food boxes:

Materials:
  • Cat food boxes
  • Acrylic paint
  • Brushes
  • Glue gun
  • Hot glue sticks
  • Cutter
  • Sealer
  • Old net tights

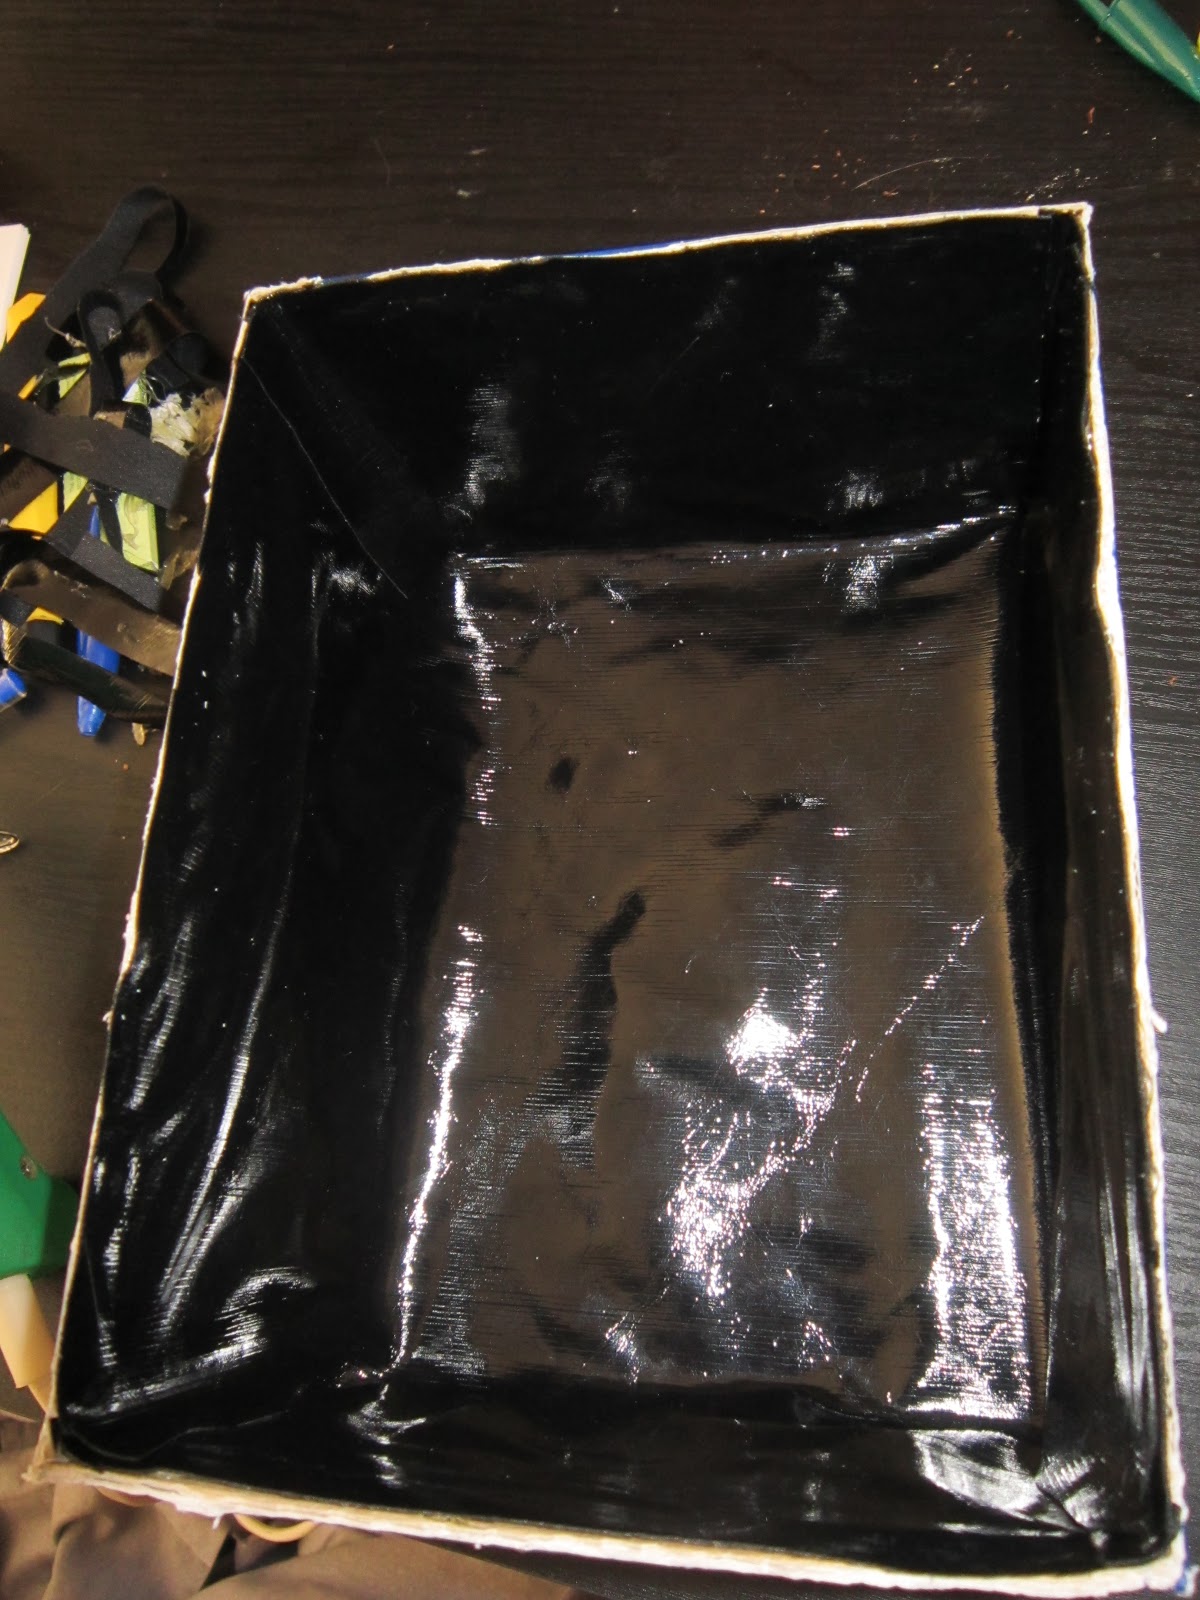
Step 1: Take the boxes and cut the top.


Step 2: Put the boxes on top of each other and glue the edges only with hot glue. Be careful! You have to hold them well together, you could use a ribbon around so it is tight and doesn't move while gluing it.


Step 3: Paint the boxes with acrylic paint, the color of your choice. Mine as always BLACK!  ^.^
Let it dry, apply the sealer and let it dry a few minutes more.


 Step 4: Take those old net tights out of your closet, (I'm sure you all have, hehehe) break them if they are not broken enough. Put some hot glue on the corners of the box or wherever you like and add the net. You only need a little amount of glue for this.


And that's it!! I use mine to store craft papers, you could use it for magazines, letters, recipes...
It's cheap, good for the environment and entertaining!


Monday, 10 September 2012

A different way to hang your puzzle


Hello again!

Now I'm gonna share with you a different way to hang your puzzles...
I don't like spending more money on a frame than on the thing I wanna hang. And I couldn't find a cheap frame in this size, so this is what I did:

Materials:

  • Puzzle
  • Foam board
  • Lace / ribbon
  • Hot glue
  • Glue gun
  • Liquid glue
  • Puzzle conserver
Steps:

1.Cut the foam to the size of your puzzle.

2. Glue your puzzle to the foam using liquid glue, then use the puzzle conserve to seal the puzzle and let it dry for an hour.

3. Take the lace or ribbon and glue it to the puzzle with hot glue. If you like you can fold the ribbon a little bit while you are gluing it so it is not straight.


4. Make 4 little bows with ribbon and glue them to the corners. And that's it!!


I know that in this case I didn't use a glass or something like that to cover the puzzle, but the Puzzle conserver makes a pretty good job, so I think it's gonna last.

As always feel free to share your own version!

P.S.: If you wanna hang it in the wall you can glue a hanger on the foam making a little hole.

How to recycle cat food boxes


Hello!
I didn't like the idea of throwing away all the cat food boxes, because it's like 16 boxes at month. So I came up with a few ideas and today I'm gonna share with you the first one.

I wanted to tide up my bathroom and I decorated two boxes and this is how I did it:

Materials:

  • boxes
  • fabric
  • ribbon/ fabric scraps
  • hot glue
  • glue gun
  • cutter
  • pencil/ marker
1. I always open these boxes on the side so I can recycled them, so the first step is glue the flaps back on.


2. Lie the box towards the widest side an cut out the part on top using a cutter.


3. Take the fabric an make 2 patterns to cover the inside and the outside of the box. Remember to leave enough fabric (0,5 cm) for the outside pattern so you can fold it and glue it to cover the edges.


4. Cut out the fabric and take the fabric for the inside first.
Place it in carefully, make sure that the measurement is correct and glue it.


5. Now place the box upside down and take the outside fabric.
Glue delicately the bottom and then glue the sides, but remember to fold in the fabric when you glue the 
sides. And fold the fabric to cover the edges too.


6. Add a ribbon, make a knot and... that's it!


I hope I explained well...
Enjoy and share your own!

P.S.: When I finished this project I thought it was very plain so I'm gonna order some studs and add them to the boxes. I'll post the update soon!

Saturday, 18 August 2012

How to make a Necklace holder


Hello! I had been trying to figure out a good way to hold my necklaces and I came up with this... So today I'm going to share with you my version of a Necklace Holder:


1. Put tape on the foam to paint straight lines.
(It doesn't really matter what size or shape it is, that's totally up to you!).


2. Paint two coats of acrylic paint, let dry and remove the tape.


3. Draw and cut a coffin on the cork.

4. Cut the fabric a bit larger than the cork-coffin, enough to be able to fold it over on each side and glue them.


5. Glue the coffin to the foam board. Hot gluing... don't burn yourself!

6. Finally add the thumb tacks and necklaces!


Share your own version!

Friday, 17 August 2012

How to make an Earring and hair clip holder


Hello! In this post I'm gonna share with you how to make a earring and hair clip holder:


1. Draw some straight lines on the foam.


2. Draw a spider web.


3. Cut off by the outside line.


4. Put hot glue on the points marked on the picture and add the ribbon.


5. Paint the remaining lines with acrylic paint


6. Make some holes with the help of a needle. Add your accessories and you're done!


I hope you like it! Share your own version!
Related Posts Plugin for WordPress, Blogger...