Pages

Saturday, 11 July 2015

Wreck This Journal: Instructions


The instructions page... where do I begin? The tittle of this journal appears often in the comments, usually to remind me that I did it wrong. But I think this people seem to have overlooked the 'Instructions Page'.
  1. Carry this with you everywhere you go. 
  2. Follow the instructions on every page.
  3. Order is not important.
  4. Instructions are open to interpretation.
  5. Experiment. (work against your better judgment)
And we shouldn't forget about the author Keri Smith, who is a conceptual artist who makes this books for people to experiment, even if they think the can't.

Thanks to this book, I used methods and materials that I wouldn't think of using before, I gained confidence in my drawing skills and I don't worry anymore if a drawing is missing or if I screwed up, because what is important is the process of making something out of nothing.


So there is no right or wrong way, just do what you want and enjoy it.


Sunday, 14 June 2015

Wreck This Journal


Last year I started a project called 'Wreck This Box' by Keri Smith. It's a collection of art journals that makes you experiment, explore and extend your imagination with a series of tasks that you need to complete.


I finished 'Wreck this journal' last year in August,  'Mess' will be finished in a couple of weeks and I'm currently working on 'This is not a book' and 'The pocket scavenger' but more slowly, as well as in other journals that I will talk about in future posts.

Since then I've been posting daily pictures of the progress on Instagram and weekly videos on my Youtube channel. But I noticed that some of you ask me the same questions and often my answers get lost on the comments... So I thought It could be useful to post a detailed description of every page here, how I did it and what did I used.


Watch the flip through here:


Thursday, 27 December 2012

How to make a Candle holder


Hello! I wanted to share with you how to recycle a bottle and make a candle holder.

What will you need?
  • Bottle
  • Picture or paper and a printer
  • Sealer
  • Sand or salt and paint
  • Candle
  • Ribbon
  • Thread
  • Key or whatever you want to put inside
1 Step: Drink the bottle you want to use ;)

2. Clean the bottle the best you can and get rid of all the sticky paper.

3. If you have sand, skip this step.
    Put some salt and paint in a bowl and mix it until you have the colour you like.


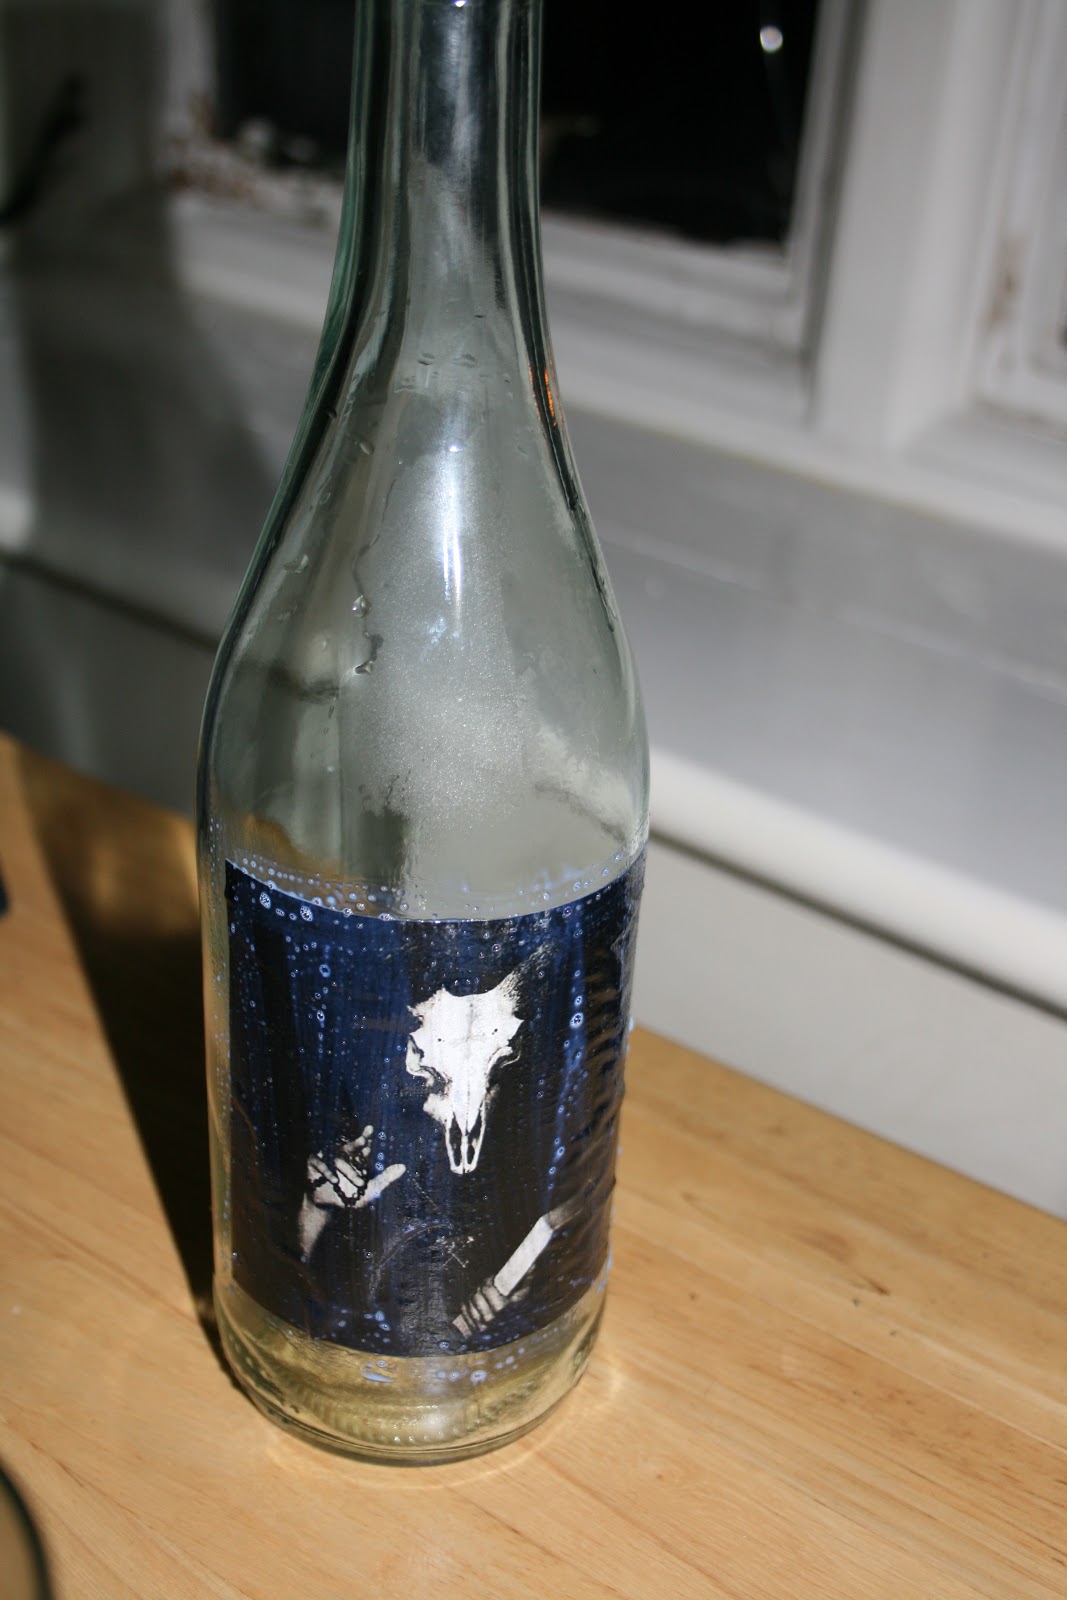
4. Print a picture!


5. Use the sealer to glue it to the bottle.


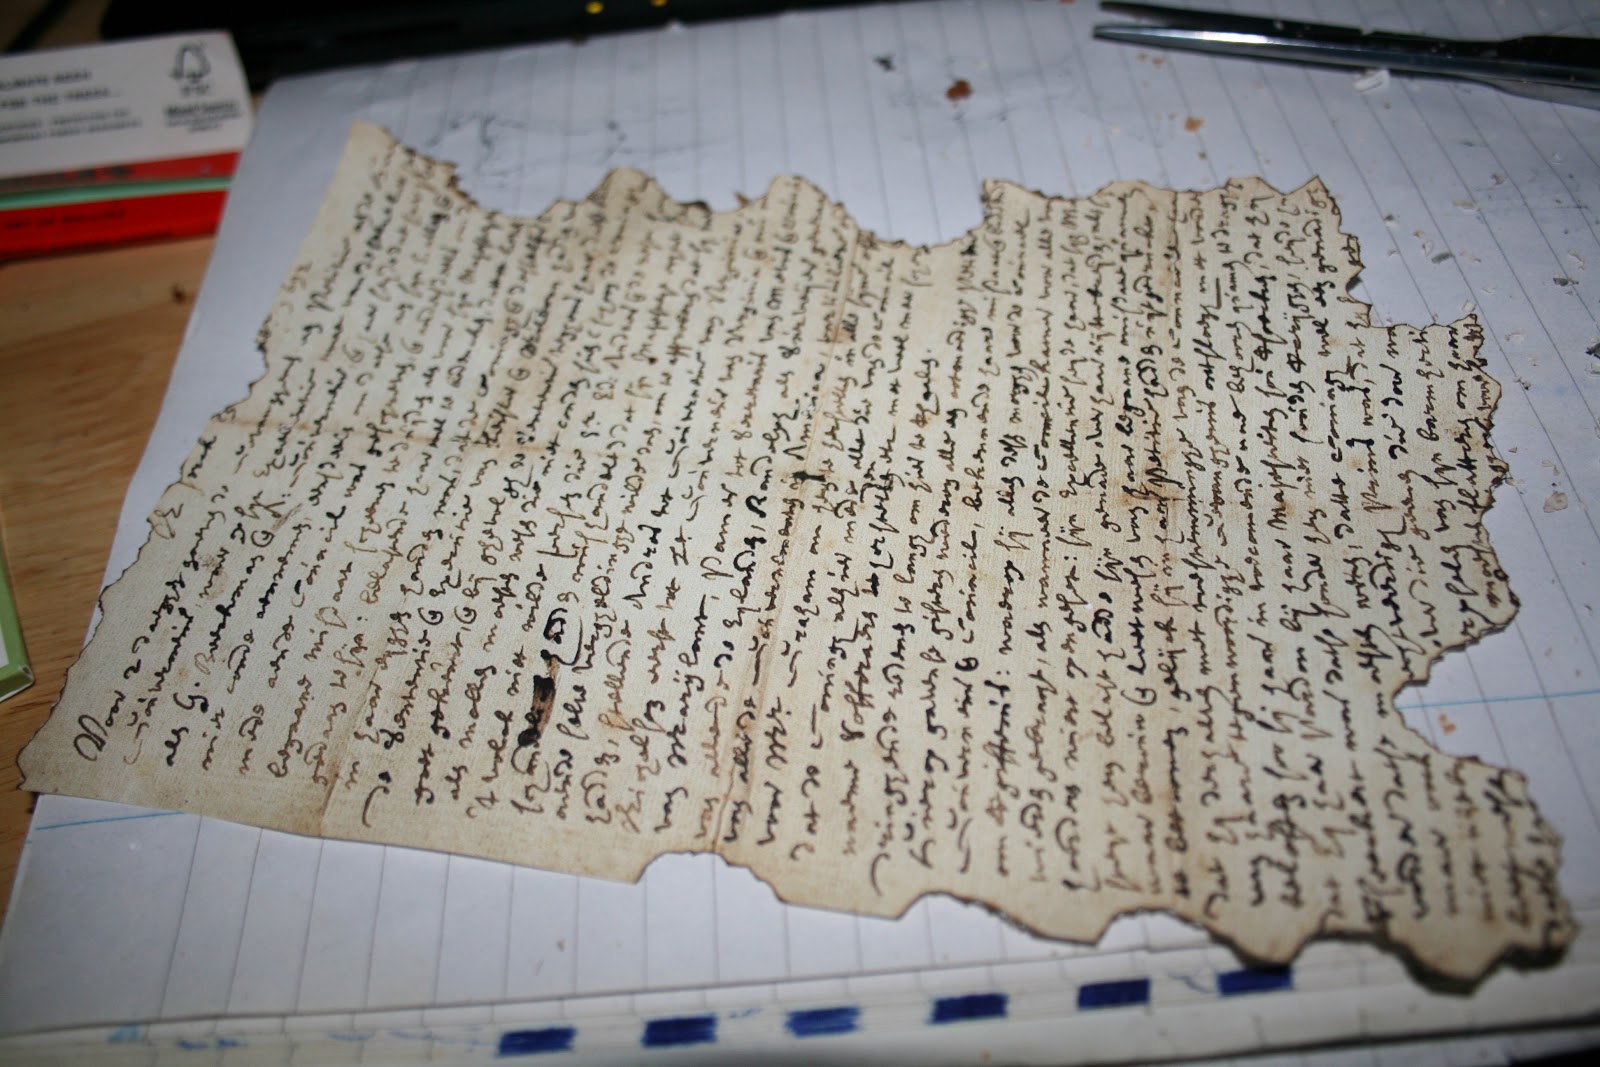
6. Print an old looking letter and burn the edges. But don't burn the house!


7. Put all the stuff you want inside! I rolled the letter and closed it with ribbon, I also put some fishnet and hanged a key inside. And I let a few candles to melt.


8. I added a ribbon to the top of the bottle too.


I hope you like it! Share your own version! More post soon!
Related Posts Plugin for WordPress, Blogger...